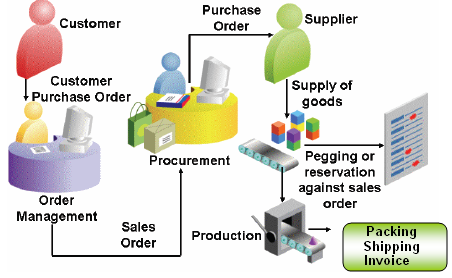
In Back to Back order the shipment process is completed through Order Management (OM) as a standard order after the item is received against a Purchase Order (PO).
Back to Back order flow applies to scenario where Customer order a product which
- We do not stock
- We do not manufacture
Customer places order to us, we place the order with our supplier and our supplier ships the product to us and we in turn ship the product to our customer.
This is a common scenario for Wholesale Distributors who use the S3 (Sell-Source-Ship) business model as well as for other demand channels. This process is called as ‘back-to-back orders’ or ‘procure-to-order’.
Key Item attributes:
In the Purchasing tab, select the Check boxes Purchased & Purchasable. Enter the Default Buyer and List Price.
In the General Planning tab, select Make or Buy as Buy.
Note: Item must either have the make/buy flag on the General Planning tab set to ‘buy’, or else have a sourcing rule saying that it is to be sourced from a vendor. (In our case we have kept it as Buy)
In the Work in Process tab, select the Check box Build in WIP.
In the Order Management tab, select the Check boxes Customer Ordered, Customer Orders Enabled, Shippable, OE Transactable and Assemble to Order. Keep Default SO Source Type as Internal.
Note: The ATO item attribute is checked as the B2B process utilizes the ATO process of the workflow. However, the item is not manufactured in WIP, and instead is a 'Buy' item that is replenished by a supply order in PO. Hence the item may also be called an ATO Buy item.
Assign the Item to Inventory Organization.
Add the Item to the Price List.
Create a Sales Order.

Enter the Line details and Save, Status will be Entered.

Note: Make sure the ATO checkbox is enabled and Source Type in Shipping Tab is Internal in line level.
Book the Sales order, Order status will change to ‘Status Eligible’

Right click on the line & Click Progress Order.
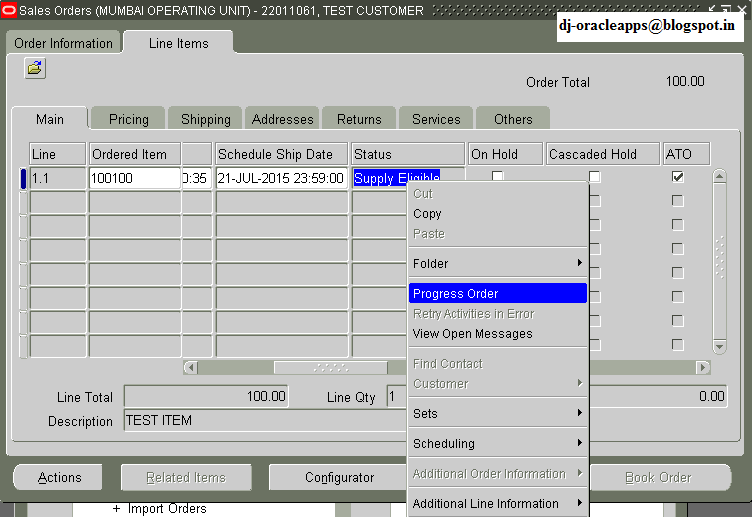
‘Create Supply Order –Eligible’ window opens, Click OK.

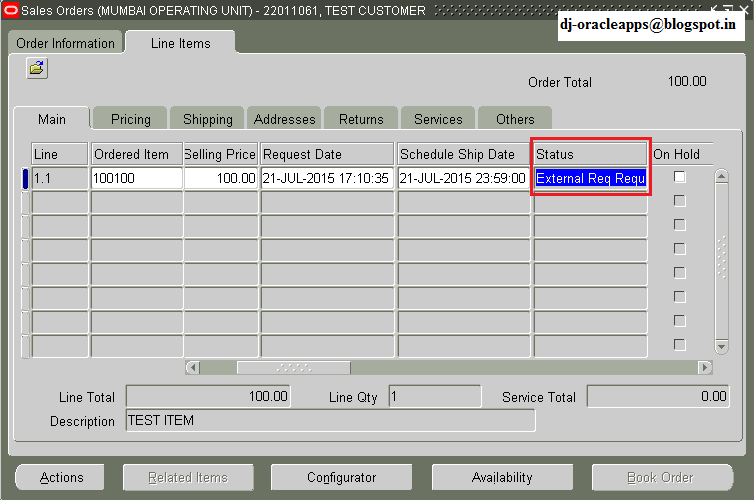
Status changes to ‘External Req Requested’
Import Requisition:
Navigation: Orders, Returns → Requisition Import
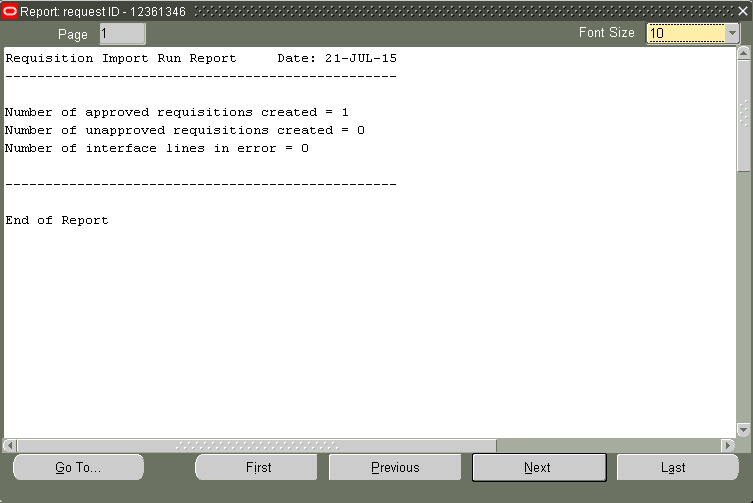
Run the concurrent request with the Import Source as ‘CTO’.

Open the output of Requisition Import & check the number of approved requisitions created.
Order status changes to ‘External Req Open’

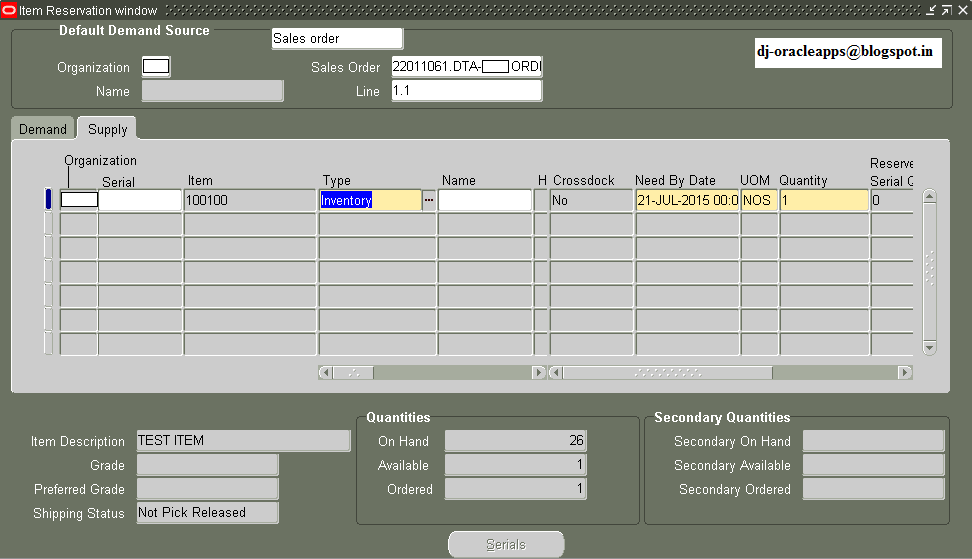
Note: When Req Import processes, the purchase requisition is reserved to the sales order line. If we view the Inventory Reservations form → Supply tab, we can see that the reservation is linked to a requisition and we can also see the requisition number and line number.
else
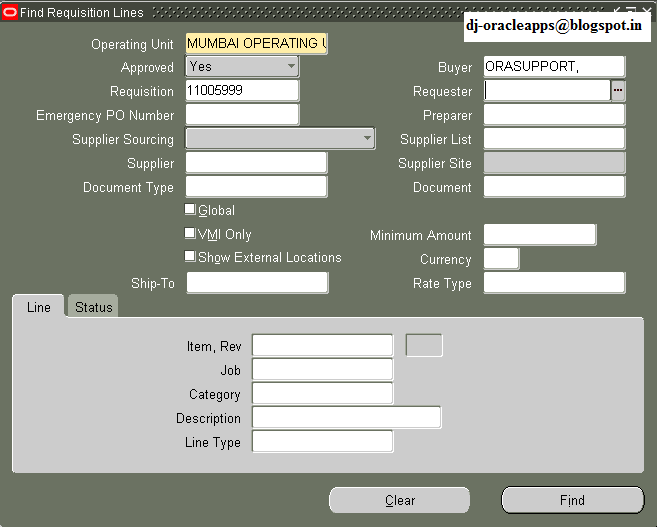
Go to Oracle Purchasing → Requisitions → Requisition Summary
Enter the Import Source as ‘CTO’ and click ‘Find’

System will display all the requisitions which have CTO as Import Source. Note down the Requisition Number.

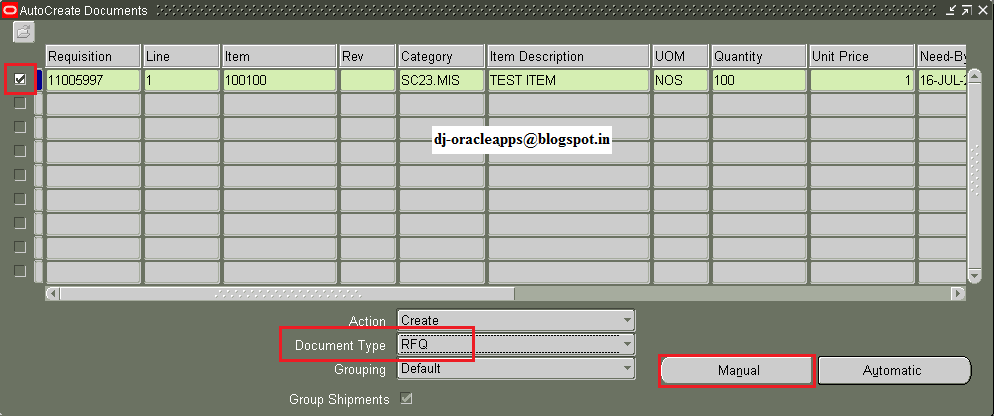
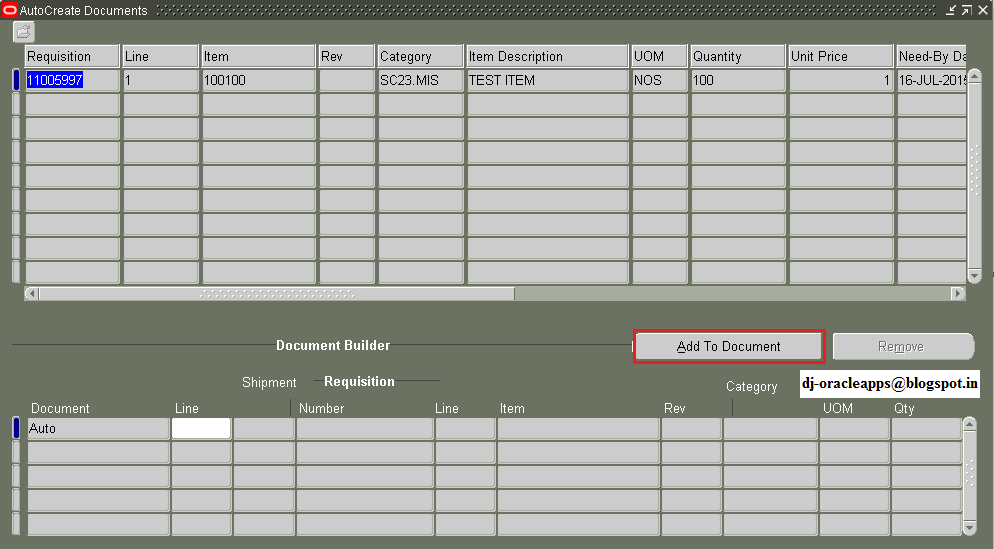
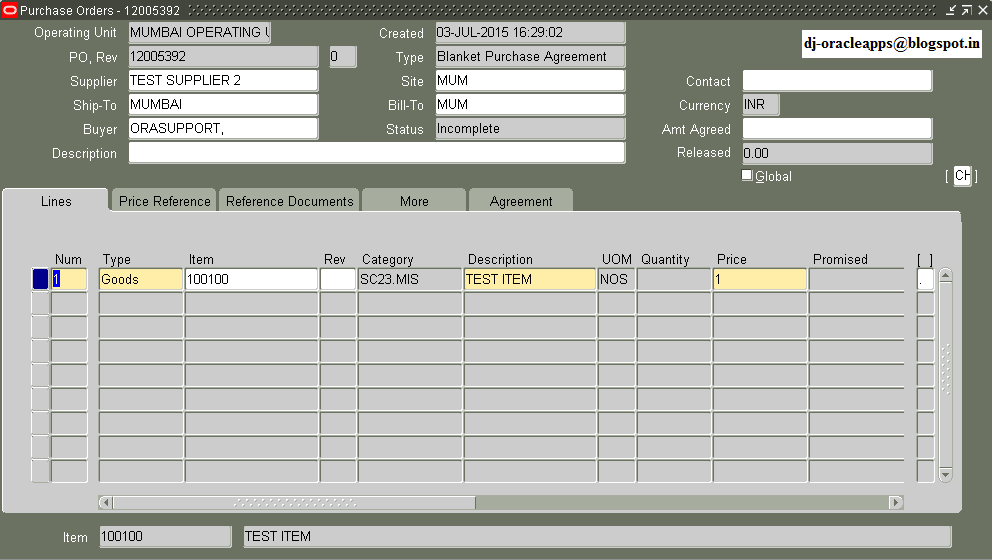
Autocreate Purchase Order:
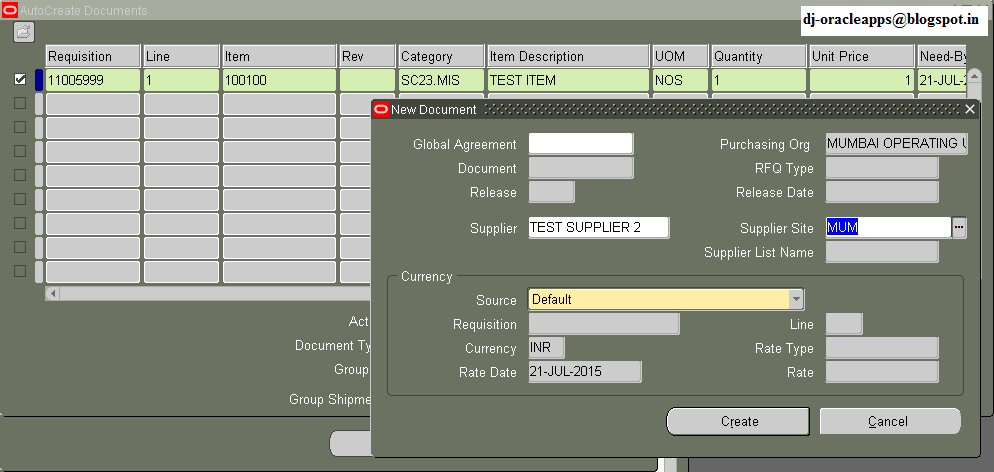
Go to Oracle Purchasing → AutoCreate. Enter the Requisition number and click find.
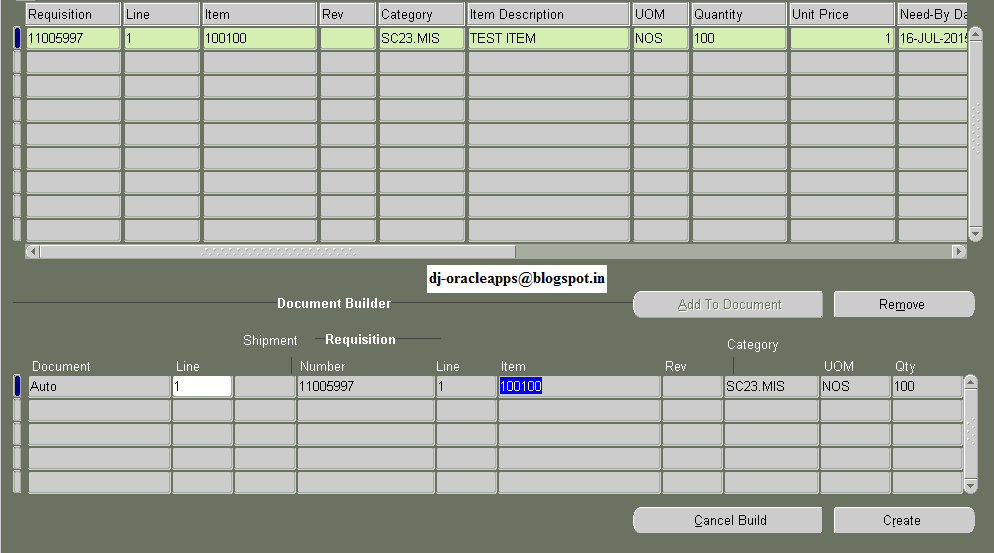
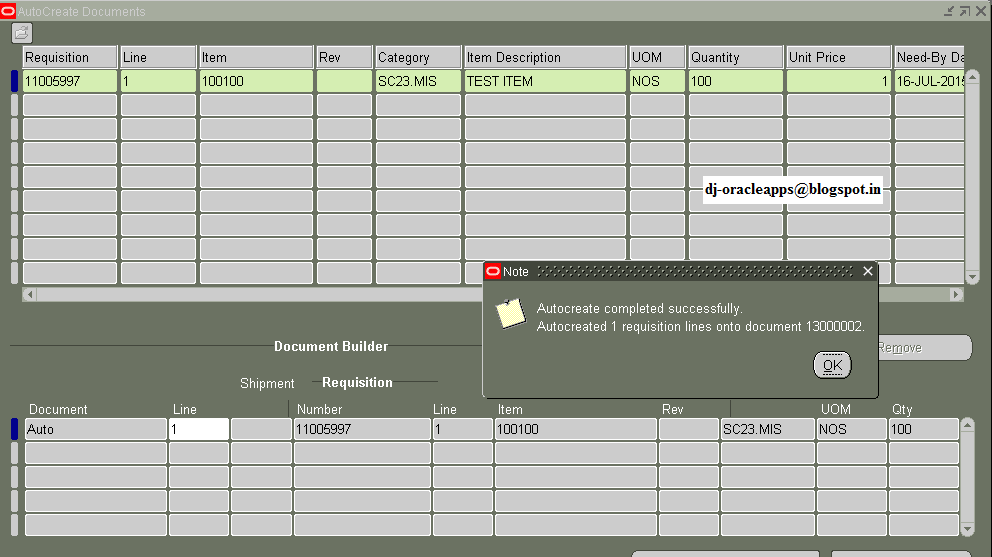
Through either Manual or Automatic option convert the Requisition to Purchase Order.
Note down the Purchase Order number.

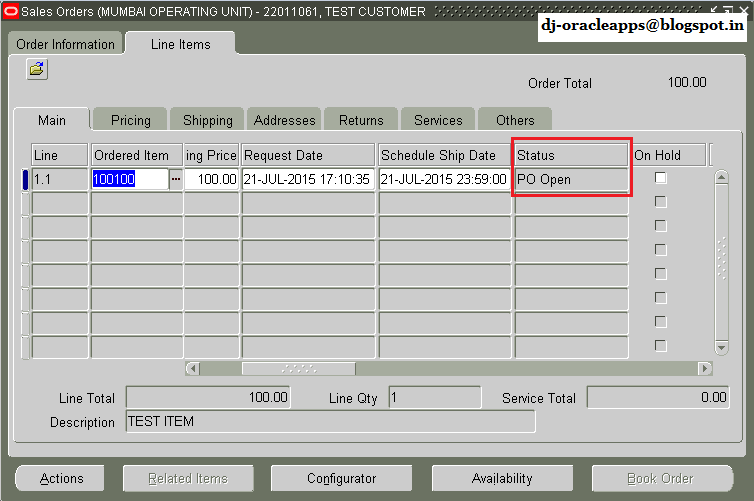
Get the Purchase Order approved.
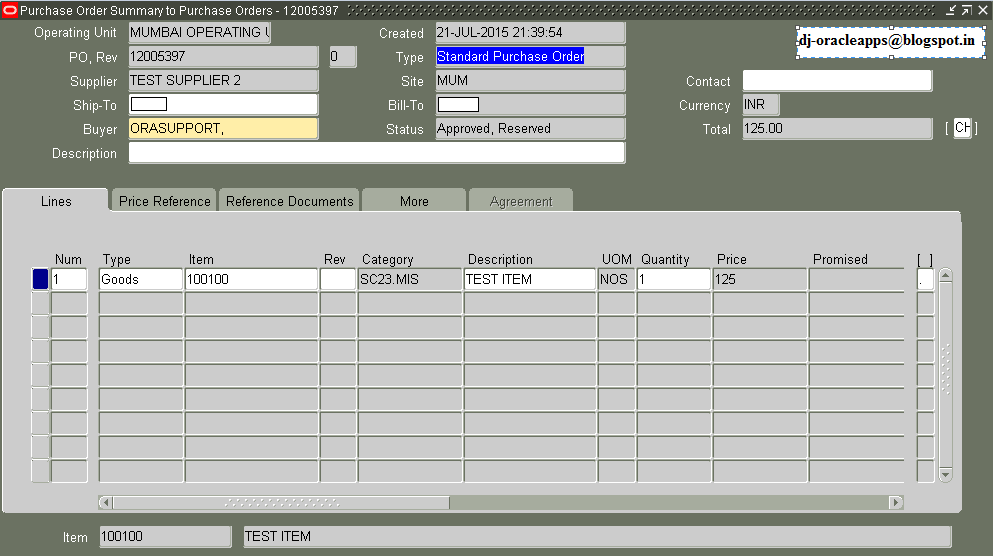
Once the PO is approved, the Sale order line status changes to ‘PO Open’.
Note: When the requisition becomes a PO or a blanket release, the reservation moves with it. The Reservations form → Supply tab, then shows the reservation is linked to a PO or a blanket, and we can see the PO number or the PO and release number, as well as the line number.
Complete the receipt process:
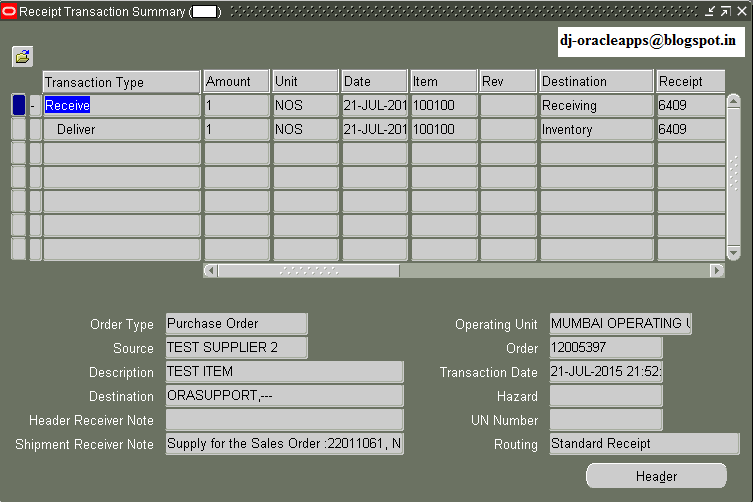
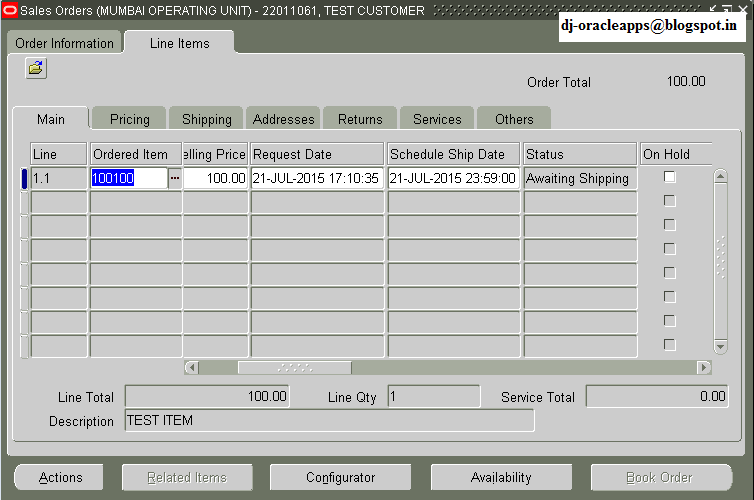
On completion of Receipt Process, Sales order line status changes to ‘Awaiting Shipping’.
Tools → Scheduling → Reservation Details
We can see that the Receipt Qty got automatically reserved to the Sales order.
From here on, we can do Pick Release and Ship Confirm like a normal sales order.
Changes or Cancellations:
- If the sales order line is cancelled or the quantity is reduced, then the reservation is reduced and a notification is automatically sent to the buyer explaining that there is now a PO outstanding for a higher quantity than what is needed for the sales order. The buyer can then decide whether to cancel the PO line or to buy the product anyway and put it into inventory.
- If the Schedule date on the sales order line is changed, again a notification is sent to the buyer, who can then decide to either change the date on the PO or cancel it or do nothing. If the buyer decides to cancel the PO, then a new requisition will be created the next time AutoCreate Requisition is run.
- If the PO is cancelled or a partial quantity is cancelled, then the reservation is cancelled or reduced appropriately. The next time AutoCreate Requisition is run, it will create another requisition for the unreserved amount on the sales order.
---x---